What does it take to make a book from scratch? From intricate stitching to precision folding, bookmaking is a craft that demands patience and skill. Deputy Librarian Sarah spent a week learning bookbinding techniques; here, she shares her experience and tells us how members of Queen’s can soon have a go themselves.
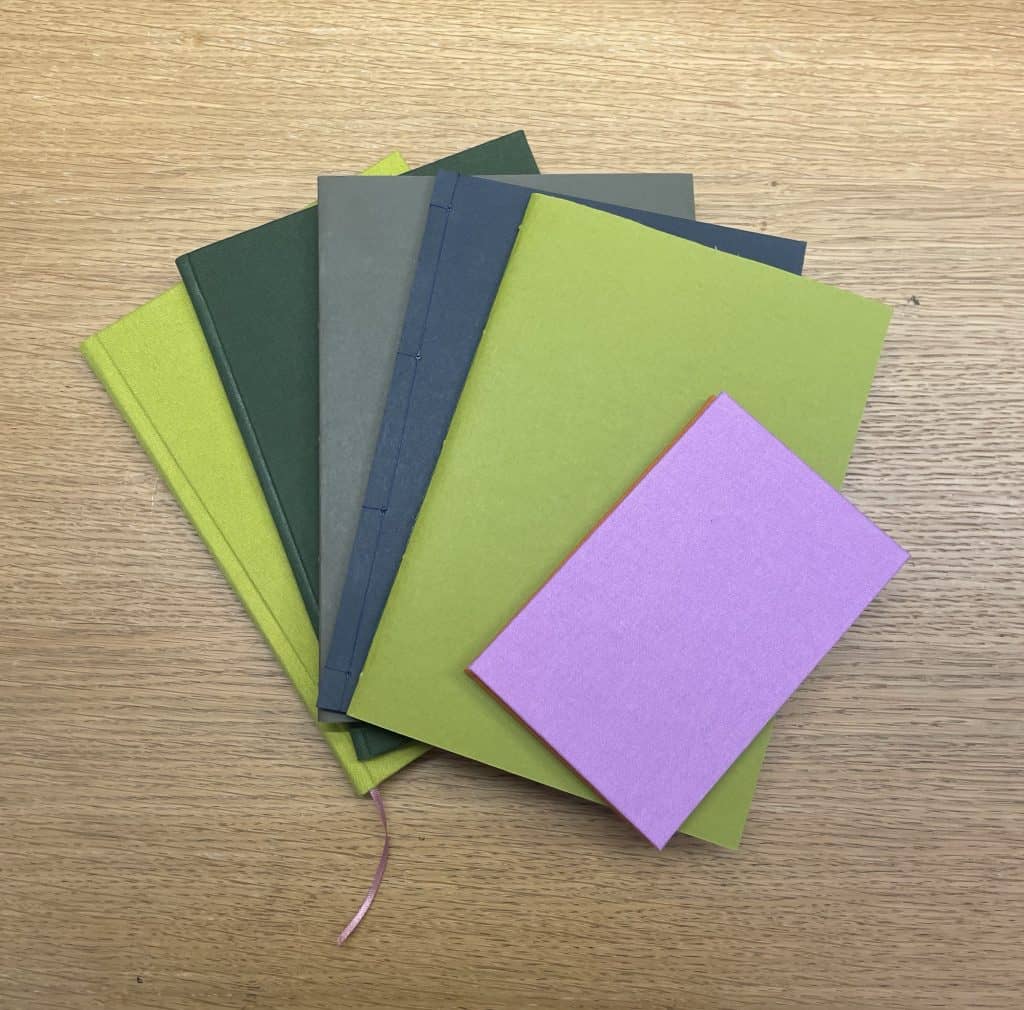
This summer I spent a week at the London Centre for Book Arts, learning some beginner friendly bookbinding techniques at their 5-day intensive ‘Making Books School’. I learned how to make six different types of ‘book’, and ended the week making a clamshell box to take them all home in.

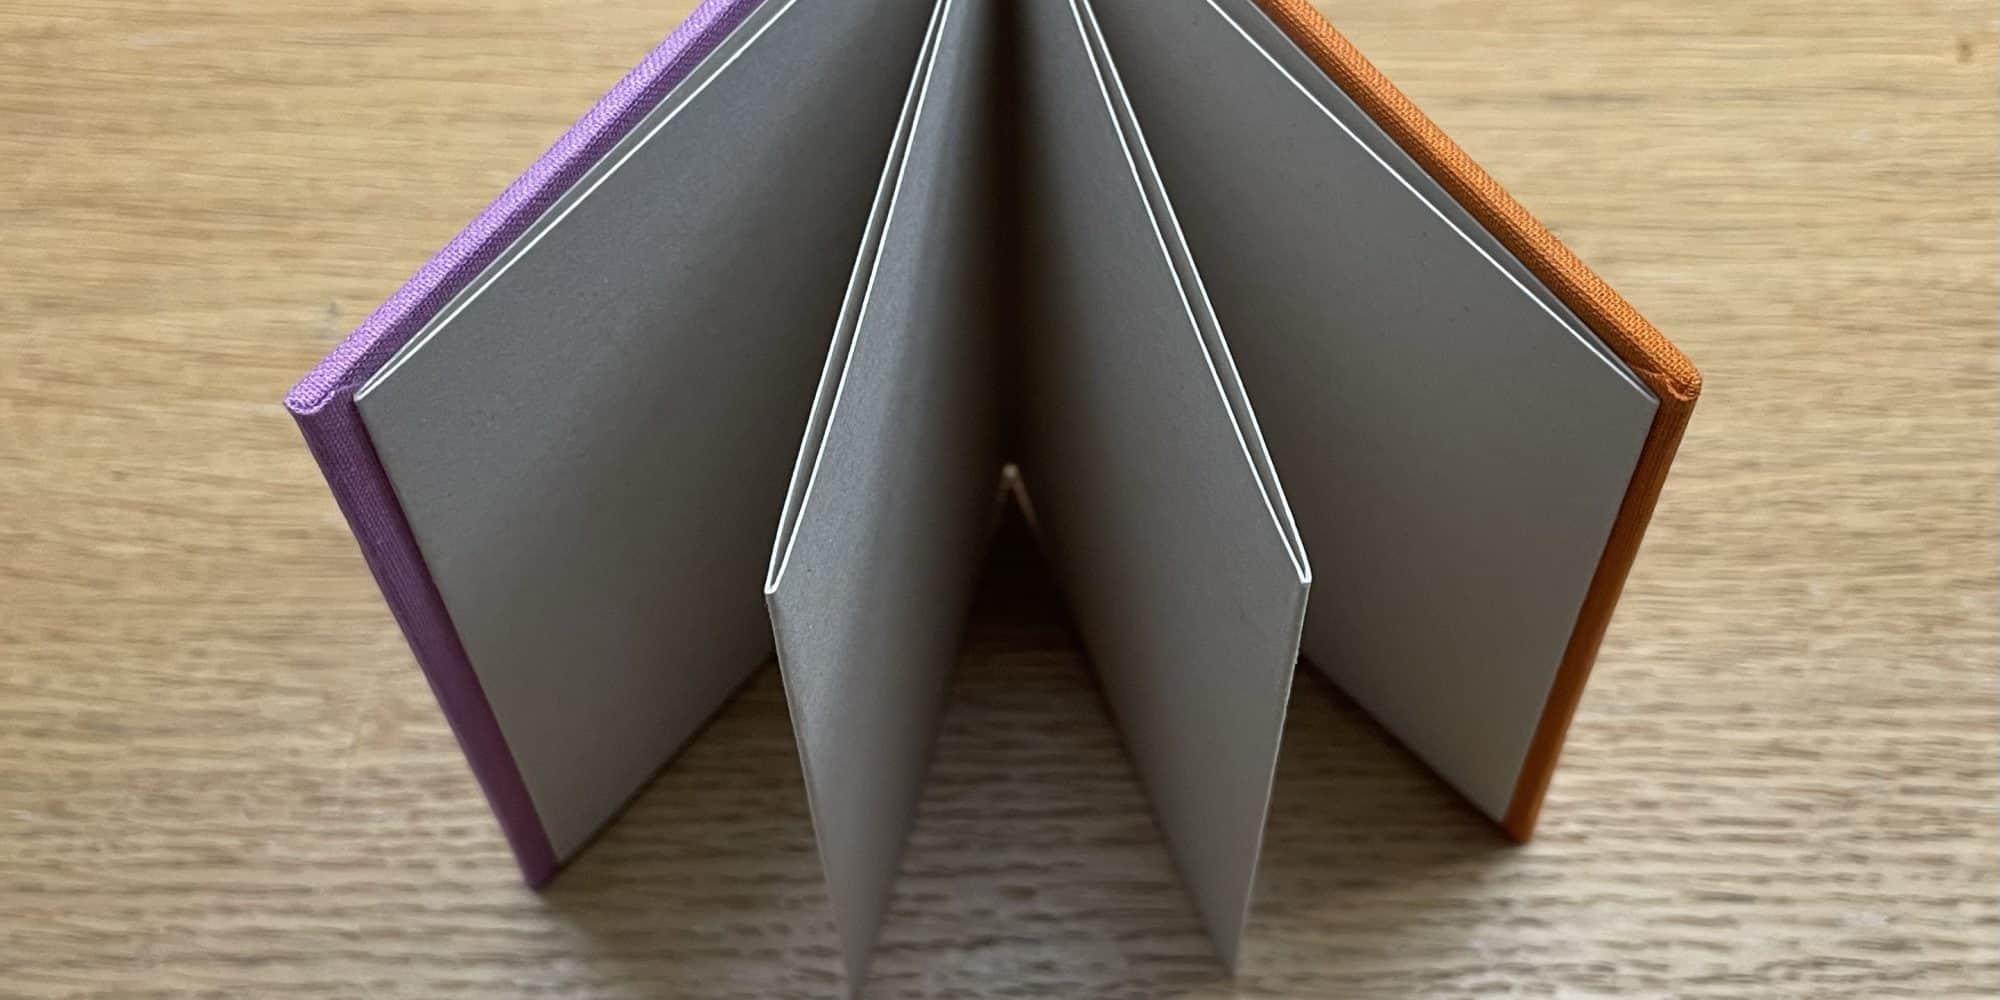
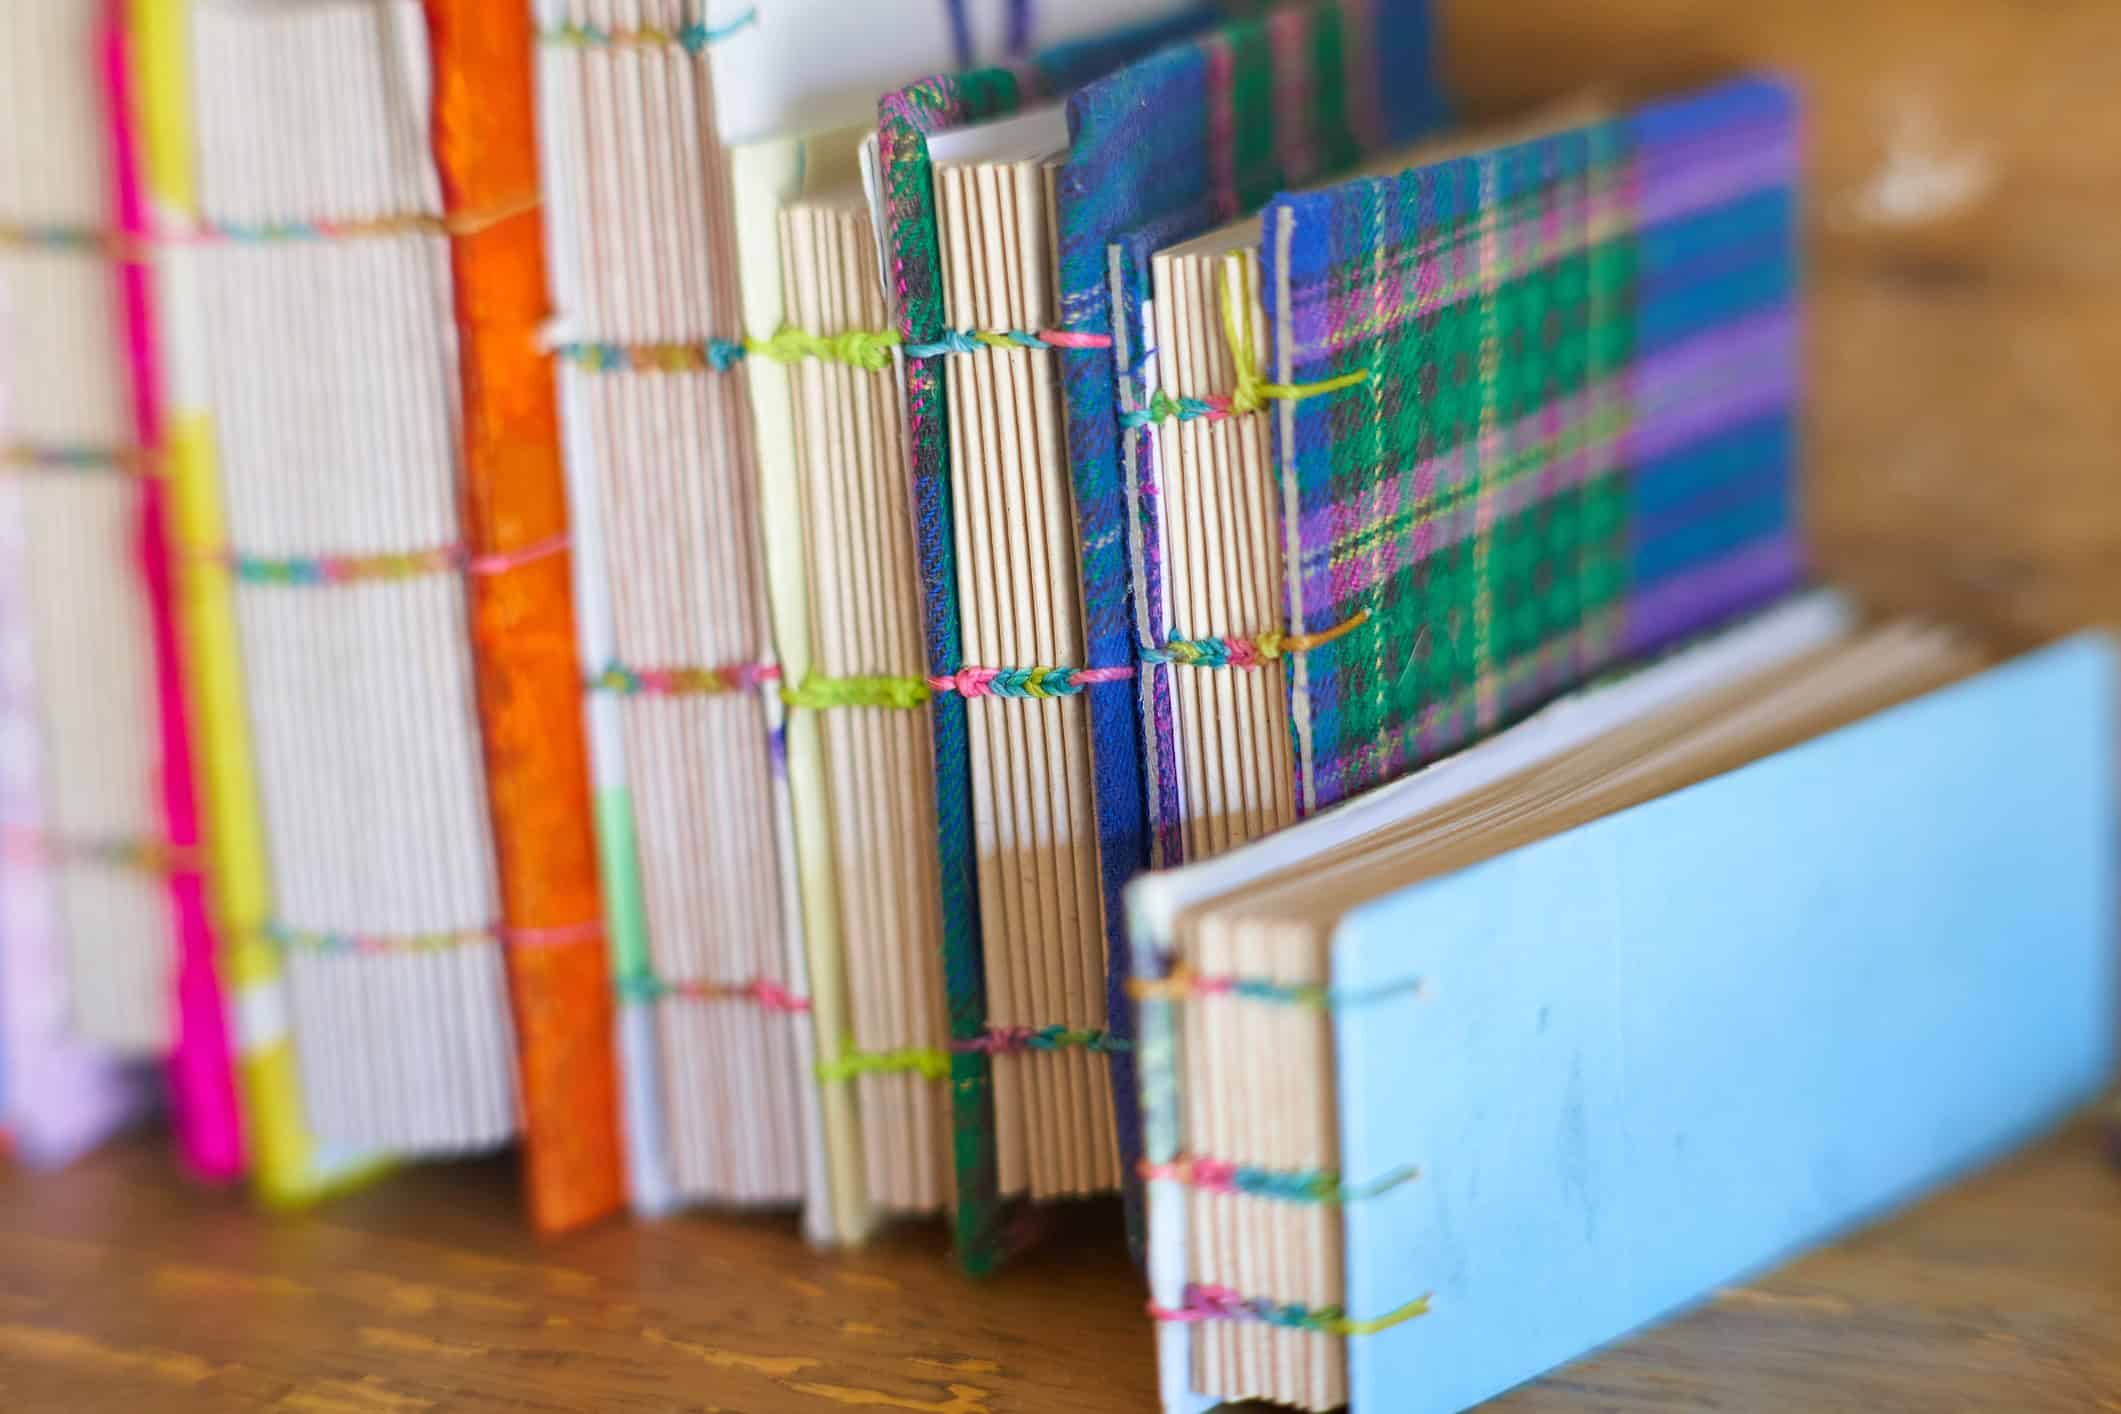
We started with a couple of simple items – a five-hole pamphlet notebook and a Japanese stab-binding notebook. Both of these were fairly easy to master and required only precise folding, stabbing and stitching. The following day we moved into more complicated territory – creating a concertina booklet. This required incredibly precise folding in order to ensure the book’s boards would align correctly, and also involved covering book board in book cloth in order to create the covers for the concertina.
We then continued to escalate the need for precision and neatness by creating an exposed spine hand stitched notebook made of multiple ‘sections’. This utilised a link stitch which, when done correctly, looks like several small braids across the spine. The result is a notebook which opens flat.
We then moved on to more complex examples. We made a single section case binding to introduce ourselves to the art of ‘casing in’ – which is where a bookbinder attaches a text block (i.e. the inner part of a book) to the ‘outer’ boards or case. We created the case by pasting pieces of book cloth to boards that had been cut to size, then carefully pasting the endpapers down to cover where the cloth folded over the inside of the board, resulting in a neat looking finish. We also got to experiment with ‘tooling’ – placing a small decorative dot onto the front cover. Many older books you may see in the Upper Library, for example, have much more elaborate examples of this tooling. Historically a bindery would have employed someone working as a gold finisher, whose role was to add these patterns, often by hand, using heated stamps and rollers, and gold foil.
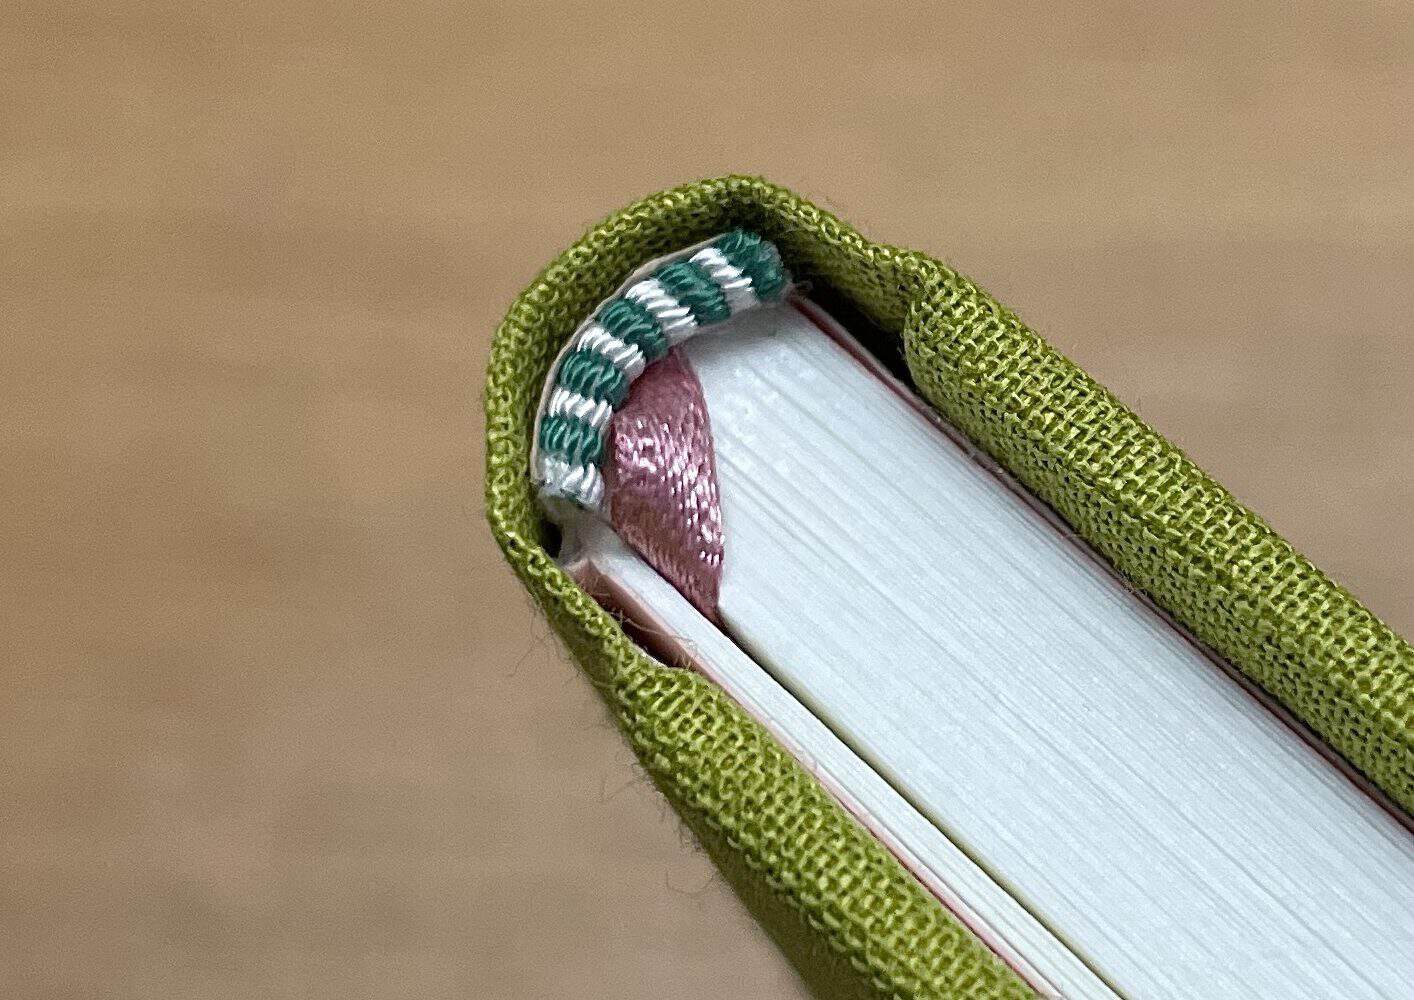
The most complex book we made was a multi-section round-back case binding, with headbands and a ribbon bookmark inside – a classic hardcover notebook. We began by folding several sections, then sewing these together to form the text block. We then glued and hammered the spine of the text block into a slightly curved shape hence the name ‘round-back’. We reinforced the spine with paper and fabric, and added the ribbon and headband/endband pieces. We then cased these in as we had with the single section binding. You may recall we had quite a warm summer this year, and the studio was over 28 degrees at this point, meaning any glue we were using was drying very quickly. This meant we needed to do very precise and fiddly work with our hands at a much more rapid pace than we perhaps might have liked, so I was very pleased that my book turned out quite neatly.
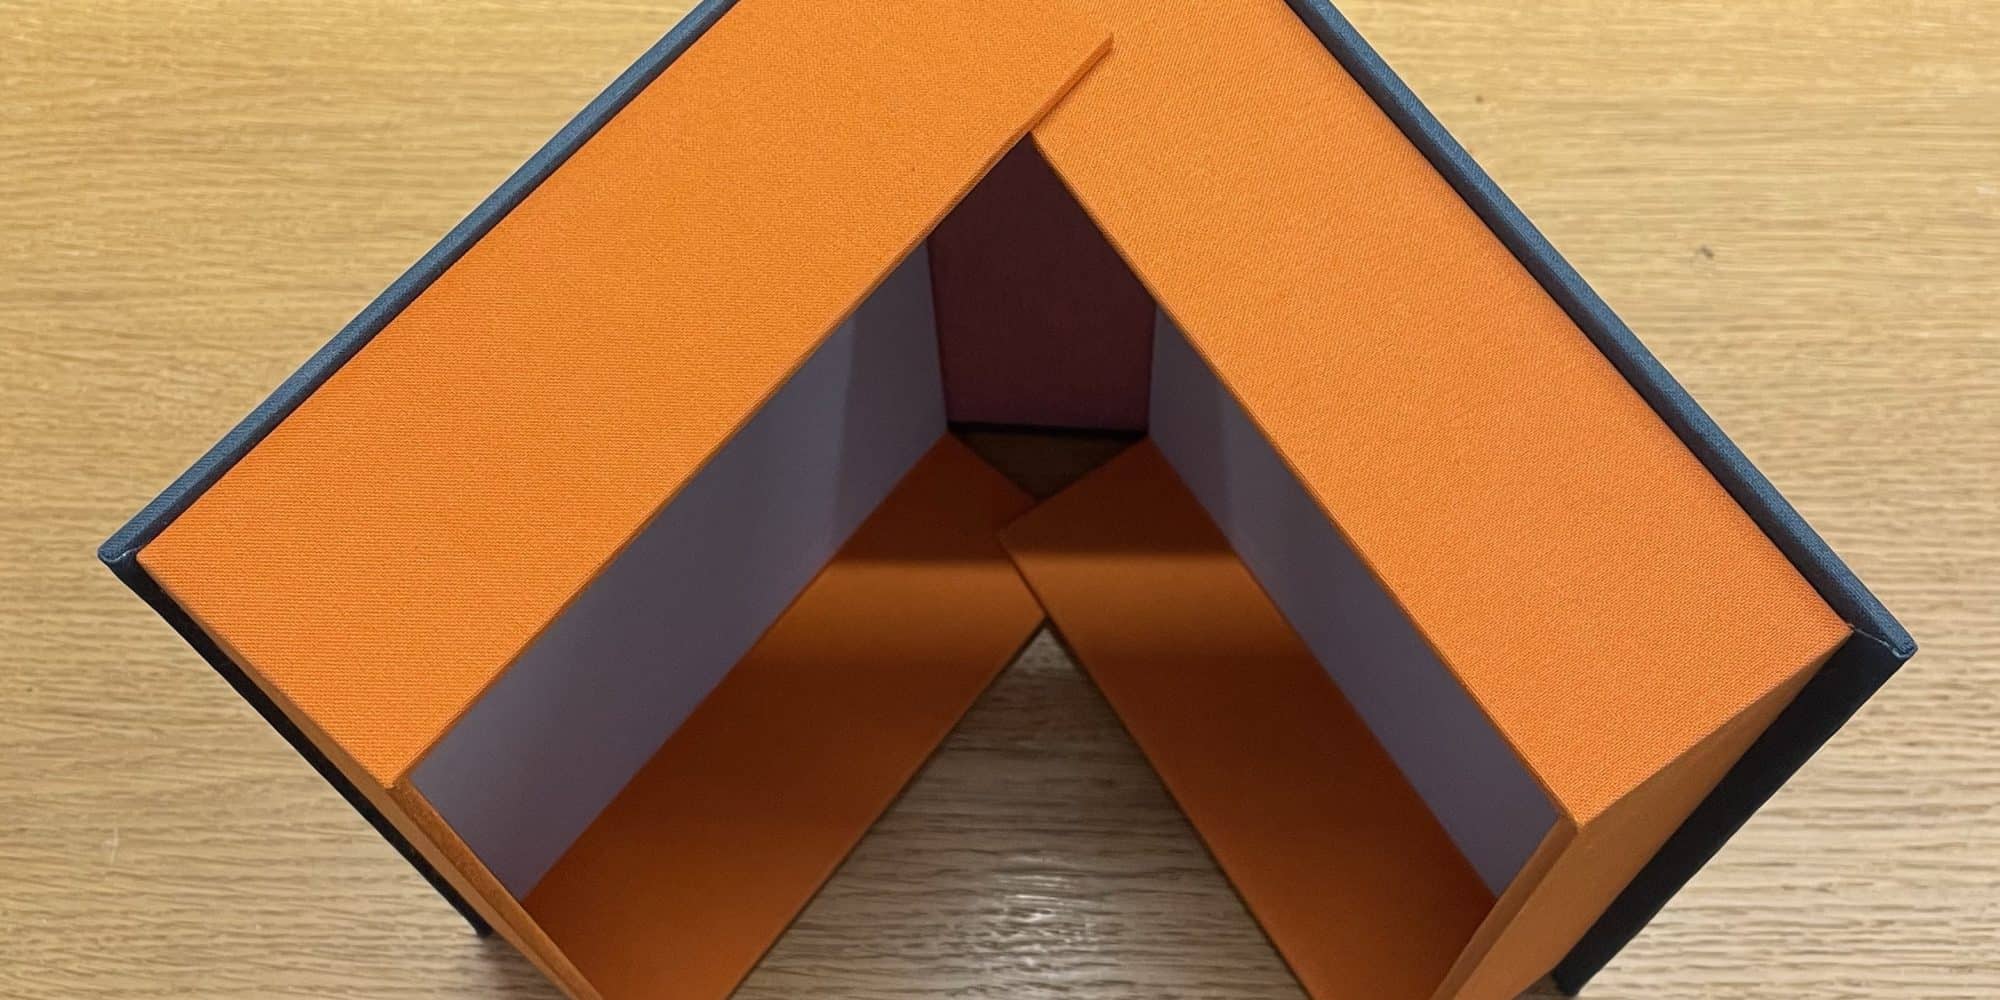
The final day was devoted entirely to producing the clamshell or ‘solander’ box that would fit all of the books we had produced prior. Easily the most complex part of the week, this involved a lot of careful measuring, cutting, folding and gluing.
I’ll be using what I learned to teach a series of workshops for members of College focusing on book arts. The first of these will take place Tuesday of week 6, 2-4pm in the Library multipurpose room (MPR), where we will make a five-hole pamphlet. Places are limited so email library@queens.ox.ac.uk if you would like to attend! All tools and materials will be provided.